

What is Ronghua?

Ronghua, also known as Chinese velvet flowers, is a traditional handmade craft with a history of over a thousand years.
Originally worn by royal families and noble women, these delicate flowers were used as hair ornaments, symbols of beauty, and expressions of elegance.
Today, Ronghua is making a comeback — not only as a cultural art form, but also as a creative DIY experience loved by makers around the world.
Why Ronghua Feels So Special
Unlike mass-produced accessories, every Ronghua piece is made by hand — from silk threads to fully shaped petals.
What makes it unique?
- Soft yet structured texture
- Natural silk sheen that changes with light
- Each petal shaped individually
- No two flowers are exactly the same
It’s not just a product — it’s a process you can feel.
Step 1: Combing the Silk Fibers

Combing is the process of separating and loosening the silk fibers using a brush, creating a soft, velvet-like texture.
- Secure the prepared silk strip in place.
- Use a brush to comb the fibers starting from the bottom and moving upward.
- Continue brushing evenly until each strand is fully separated.
- If you notice any tangled or unseparated fibers, gently pull them apart and repeat the combing process.
- Keep brushing until the silk becomes soft and fluffy, with no visible clumping.
Step 2:Bind Brass Wire

1. Secure the Velvet Row: Organize the combed velvet row and secure it on the frame. Do not stretch it too tightly—leave some elasticity. Test it with your fingers; a slight looseness is sufficient. Over-tightening may cause the velvet strip to fall off during subsequent trimming.
2. Prepare the Brass Wire: Before binding, smooth the brass wire several times from left to right to bring the two strands closer together.
3. Binding Operation:
- Twist the brass wire with one hand turning inward and the other outward.
Step 3: Cutting the Velvet Strip

This step separates the prepared silk strip from the base, forming clean and usable velvet pieces.
-
Lift the secured strip
Gently lift the attached silk (already fixed with wire) upward. -
Position your scissors
Hold the scissors underneath with your left hand to support the strip. -
Cut cleanly
Use sharp scissors to cut through the base in one smooth motion. -
Keep edges even
Make sure the cut is straight and centered for a balanced result.
💡 Tips:
- Use sharp scissors for a clean cut
- Avoid repeated cutting — it can make edges uneven
- Cut along the center line between wires
Step 4: Aligning the Velvet Strip

This step ensures the velvet strip is even and neatly aligned before shaping.
Step 5: Twisting the Wire

This step shapes the velvet strip into its signature spiral form, giving the piece structure and texture.
-
Hold the wire
Pick up the attached copper wire with your right hand. -
Twist in opposite directions
Use both hands to twist the wire in opposite directions. -
Form a spiral
Continue twisting until the velvet strip forms a thick, even spiral.
Step 6: Rolling the Velvet Strip

This step tightens and compacts the velvet strip, creating a dense and refined texture.
-
Place the strip on a board
Lay the twisted velvet strip flat on a wooden board. -
Use the rolling tool
Hold a rubbing board (or flat tool) in your right hand. -
Roll and press
Gently roll and push along the strip repeatedly. -
Compact the fibers
Continue until the strip becomes tight, dense, and smooth.
Step 7: Shaping the Tip (Refining)

This step refines the tip of the velvet strip, shaping it into a clean and polished form.
-
Position your hands correctly
Keep your arms relaxed and slightly open.
Hold one end of the wire with your left thumb and index finger. -
Twist and trim together
Slowly rotate the strip with your left hand while using your right hand to trim with scissors. -
Angle the scissors
Tilt the scissors slightly and press gently against the velvet while cutting. -
Keep movements consistent
Make sure both hands move at a steady, matching rhythm.
Step 8: Shaping the Petal
This step transforms the finished velvet strip into a petal shape, bringing the flower to life.
-
Hold the strip
Gently hold the twisted velvet strip by the wire. -
Shape with scissors or tweezers
Use tools to bend and adjust the strip into a round or desired petal form. -
Refine the curve
Smooth the edges and adjust the curvature for a natural look. -
Adjust proportion
Make sure the petal looks balanced and symmetrical.
Step 9: Assembling the Flower

This is the final step where all elements come together to form a complete Ronghua flower.
-
Prepare the center (stamens)
Take a small bundle of stamens and trim them to the desired length.
Secure them tightly at the base with thread or wire. -
Attach the first petal
Place one velvet petal next to the stamens and wrap the wire to fix it in place. -
Add more petals
Attach each petal one by one, adjusting their position as you go. -
Shape the flower
Gently spread and arrange the petals to create a natural, balanced form.
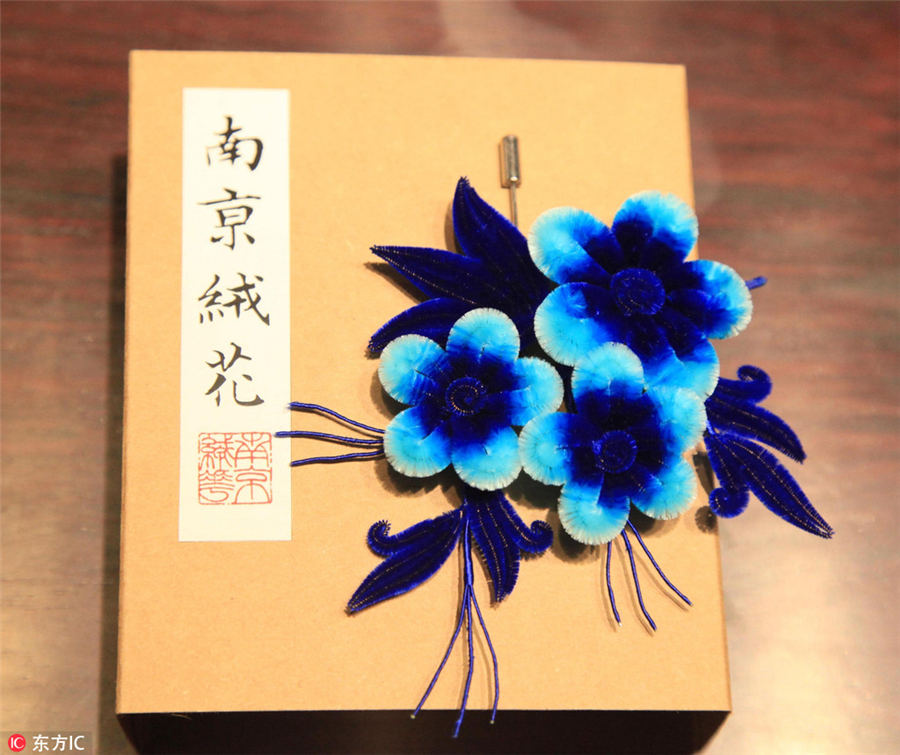
Final Result
Once assembled, your handmade Ronghua flower is complete —
soft, elegant, and uniquely yours.